External Taper Pipe Thread Measurement - Calibration
The most common pipe thread is tapered. Tapered pipe thread standards are covered by American National Standard Institute/American Society of Mechanical Engineers (ANSI/ASME) and applicable American Petroleum Institute (API, a.k.a. “Oil Field”) standards. In all cases the taper is 1:16 (0.75-inch/foot). ANSI/ASME standards include National Pipe Taper (NPT), National Pipe Taper Fuel (NPTF) and Aeronautical National Pipe Taper (ANPT). API standards include round thread casing and tubing as well as line pipe gages.
There are as many as three pitch diameters that may need to determine on tapered threaded gages. These are the pitch diameter at the base (E0), gaging notch (E1) and limit of effective threads (E2). Pitch diameter of external taper pipe threads is determined with thread wires, usually three but sometimes two.
Pratt & Whitney Measurement Systems utilizes three different methods:
1. P&W Sine Block Fixture (#U307798) utilizing three thread wires and has a capacity of 0.06-3.00 inches (1.5-75mm).
2. New: P&W Sine Block Kit (#U308047) which uses two thread wires and has a nominal capacity of 3.00-9.625 inches (75-244mm). Larger capacity is possible upon request.
3. P&W Tapered Flat Probes/Fingers (#U306963/#U307631) using three thread wires and has varying capacities depending upon the P&W instrument.
The methods above use either a taper sine block fixture between two flat parallel-face anvils or directly between two proprietary flat anvils with a 1:16 taper built in. Assuming 60 degree threads, the pitch diameter at the base (E0) is determined with one of the following simplified (no lead angle error correction) formulas as applicable:
Sine Block Fixture (three-wire):
E0 = (M – C – W) / 0.999512 – 2 * W + 0.8657435 * P
Sine Block Kit (two-wire):
E0 = M – C1 – C2 – 3.000488 * W + 0.8665743 * P
Tapered Flat Probes/Fingers (three-wire):
E0 = M – 0.999512 * W + 0.865743 * P
Once E0 has been determined, E1 and E2 are then calculated:
1. E1 = E0 + 0.0625 * L1, and
2. E2 = E0 + 0.0625 * L2
Where:
E0 = Pitch diameter at the base of the gage
E1 = Pitch diameter at the gaging notch
E2 = Pitch diameter at the limit of effective threads
C = Taper Sine Block Constant (Sine Block Fixture; #U307798)
C1 & C2 = Sine block constants of each of the two sine blocks (Sine Block Kit; #U308047)
L1 = Distance from the base to the gauging notch
L2 = Distance from the base to the limit of effective threads
M = Measurement over wires (M.O.W.), i.e., the machine readout
TPI = Threads-Per-Inch
P = Pitch of the gage (1/TPI)
W = Calibrated thread wire size
Pratt & Whitney machines suitable for use with the Sine Block Fixture and the new Sine Block Kit are:
1. External Supermicrometer (Models A, B, C, PC)
2. Measuring Machine (Models Standard, Digital and laser)
In addition, we offer these machines capable of supporting our proprietary tapered flat probes/fingers:
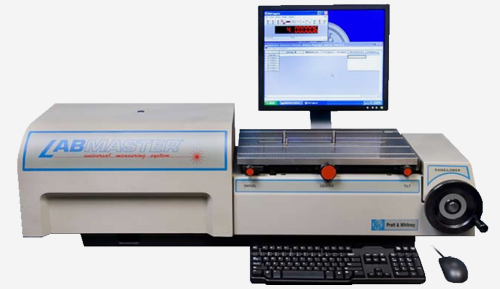
1. Labmaster Universal Model 175
2. Labmaster Universal (Models 1000A & 1000M)
3. Labmicrometer (Models 900 & 1600)
4. Universal Supermicrometer (Models 501 & 504)

 Free USB
 Product &
 Celebrating